Paint and sips bring friends, family, and communities together and are the ideal way for your customers to hang out for the evening and catch up. They’re also the perfect way to celebrate date nights, bachelorette parties, and birthday parties!
Once you’ve decided how much to charge for your creative workshop and started your paint and sip business, the next step is to teach your first class! Below, we’ve put together a guide on how to get started, a checklist of what you need, and some tips and tricks to show you how to teach a paint and sip class.
How do you get started?
Knowing where to start and finding inspiration can be tricky. Follow these steps to get you on the right path.
Decide what you will teach
Your business may have art templates, access to copyrighted images, or you may focus on painting something that’s in the room with you. So, for your first lesson, decide what you’ll teach! Use resources such as Pinterest, Google Image Search, and YouTube videos to help inspire you.
Create a sample painting
By now, you should have a good idea of the time you have available in your sessions. Is it an hour, two hours or three?
The amount of time you have will also dictate what you can and can’t draw. Try creating a sample painting and timing how long it takes you to paint it by following instructions.
Remember that your live classes will also need to include time for introductions, extra painting time for those who need help, time for the artwork to be dried and varnished, and time for your customers to sip and enjoy!
Get your supplies together
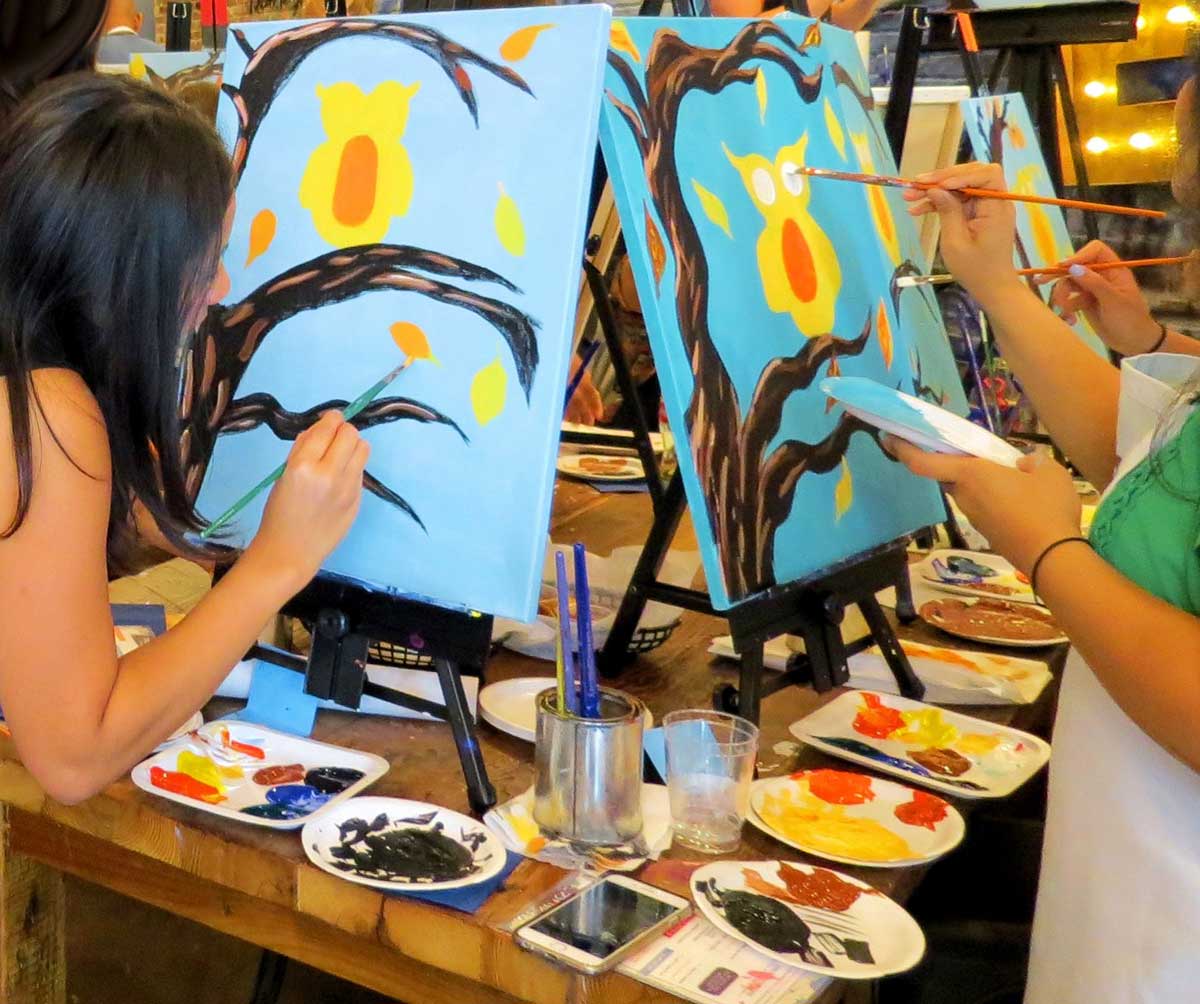
Now that you have a better idea of what you’re going to be painting, get your supplies ready. We recommend buying them wholesale wherever possible to reduce your costs. Below is a table of all the art supplies that you’ll need for each person that you’ll teach.
| Item | Volume (per person) |
| A chair | 1 |
| Paintbrushes in a range of sizes | 5-6 |
| An easel | 1 |
| An apron or clothes covering | 1 |
| A paint palette | 1 |
| Acrylic paints | 10 x 2oz paints |
| A canvas | 1 |
| Rags, towels, or kitchen towel | 1-2 |
| A water cup for rinsing brushes | 1 |
| Wine | 1 bottle |
| A wine glass | 1 |
| Snack pots or plates | 1 |
Set up the painting zone
Now that you have all the prep work done, you’ll need to set up the painting area before your workshop starts.
- Set up the easels and canvases
- Make sure each easel and space has the correct brush sizes needed for the painting
- Add a paint palette with a spatula palette knife for mixing
- Provide a jar or cup of water for washing brushes
- Place down all paints required
- Add rags and paper towels
- Provide aprons on each chair.
Besides the painting zone, you’ll also need a space to prep and dry the paintings once done. Here, you’ll want:
- A hairdryer or other drying rack to speed up the drying process
- Varnish for finishing.
Set up the teaching zone
Next, you’ll need a demonstration space or teaching zone to give instructions from.
For this, you’ll need:
- A standing easel
- An area to place to set your palette, brushes, paints, and water
- A finished sample painting or printout to use as a visual.
You’ll also want to make sure that the entire studio has visibility of what you’re doing. If the set-up is particularly busy, you might want to have a camera either on a tripod or above you recording what you’re doing. This can be cast onto a larger TV or projected onto a screen so that everyone can follow the steps with you.
Buy the beverages and treats
So, everything is set up for teaching! But you’ll also want to keep your customers satisfied with drinks and treats!
As part of setting up your business, you will have checked the local alcohol laws and permits. If you haven’t already done so, you will need to get a liquor license for your studio or the place that you’re teaching from. And, you’ll need to make sure everyone in attendance is over the age of 21.
To keep your customers happy, supply a combination of white, red, and rose wine. If you have a theme and keep the wines topical, take a look at these sip n’ paint class wine pairing ideas. Some paint and sips also provide cocktails as an option, so this is worth considering if you know a skilled bartender or two!
Speaking of that, you should supply some non-alcoholic options, too. Think refreshing lemonades, sparkling flavored waters, or non-alcoholic wines for those who don’t want to or can’t drink.
While not compulsory, some paint and sip hosts also provide snacks. This helps bridge any gaps where customers are waiting for their artwork to dry, and also stops anyone from having too much to drink!
The snacks can be as simple as some breadsticks, veg sticks, and hummus, or a selection of cold cuts, deli meats, and cheeses.
Note: Remember to check for any allergies and dietary restrictions ahead of time. It’s better to stay away from serving nuts and other foods that people are often allergic to.
How to teach paint and sip: best practices
Hooray! Everything should now be in place for your first paint and sip class. Read on for some of our best practice tips to keep your class enjoyable.
Teach the painting, not how to be an artist
Remember that the point of a paint and sip is to combine art, creativity, and fun. So the painting class should focus on creating this specific piece, rather than teaching your students how to be artists. However, dropping in hints and tips about different brush strokes, mixing techniques and the effects of different brush sizes will always be welcomed.
Encourage the students to change up the colors
Creating ten carbon copies of the same picture may leave some uber-creative students frustrated. So, give everyone the chance to mix their own colors and choose their own shades while painting. This helps you keep the class fun and allows creative expression.
Keep it stress-free
Again, this workshop isn’t about creating the perfect piece. The majority of paint and sip attendees are beginners who want to enjoy a paint party! Keep the atmosphere lighthearted, calm, and encouraging throughout.

Don’t praise people for the quality of their paintings. Instead, talk about their vision and how hard they’ve worked on it.
And, show that mistakes happen! There is no need to dwell on them. Teach your students how to fix the mistakes they make and have a good laugh when they do.
Designate someone that will help pass out paints and extra supplies
As the host and demonstrator, you’ll want to focus on delivering the painting side of the experience. So, while doing your prep work, find a second person on hand to pass out paints, extra supplies, and to keep your customer’s glasses full!
There’s nothing worse than having to interrupt your painting demonstration to the class in order to hand someone a paper towel. That’s why you need someone to be your right hand.
Pre-trace designs on the canvas
Where appropriate, it might be worth tracing the designs on each canvas before you get started. This can be done using a stencil and graphite paper. However, if you have plenty of time to spare, give all of your customers the chance to do this themselves at the beginning of the class.
Conclusion
Hopefully, this article has given you some pointers on where to start with your upcoming painting class. Remember that often the class is a group of friends, families, or a celebration, so keep the workshop lighthearted and playful throughout!
Lead with personality and a welcoming attitude, and the rest will follow. And, by planning your workshop in advance and getting all your necessary supplies and materials in place, you’ll also be able to enjoy teaching, meeting new people, and helping them to create beautiful works of art.
And that’s it! Our full guide on how to teach a paint and sip class. For further information, resources, and further reading, check out the links below.

